Powerdynamo regresa el encendido
y la luz
a su moto clásica


![]()
![]()
![]()
![]()
|
|
Powerdynamo regresa el encendido |
|
|||
|
|
|
|
|
||
|
|
|||||
|
ˇApesadumbrado! |
versión 25.03.2010 |
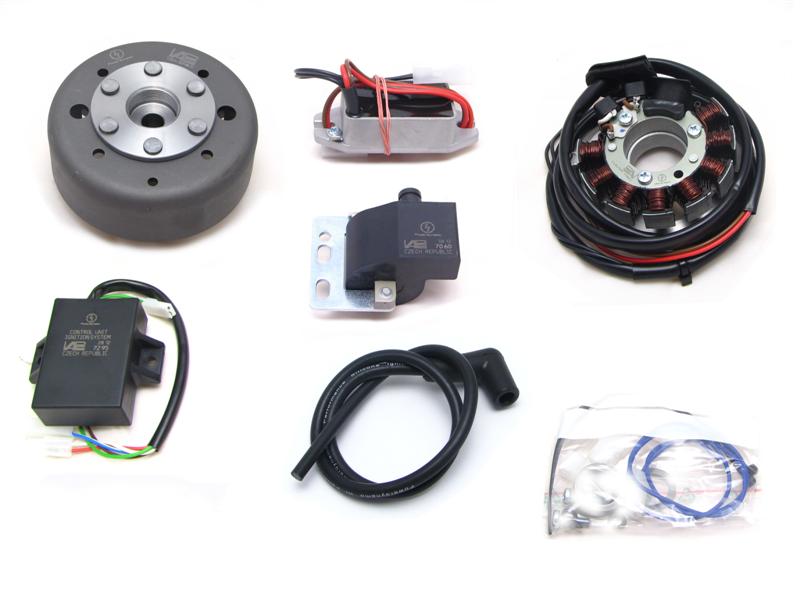 |
Estas partes las debe haber recibido:
|
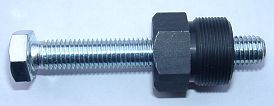 |
Para retirar el nuevo rotor necesita un extractor M27x1.25 (Número de partes: 99
99 799 00 -No
en el alcance de la fuente!-).
ATENCIÓN: ˇAl usar un extractor de garras se sueltan los imanes en el rotor! |
|
|
|
| Make sure your motorcycle rests securely,
preferably on an elevated work bench and that you have good access to the
dynamo side of the engine.
Disconnect your battery and take it out of the motorcycle. Note that you will install a 12 volts system, so you will either need a 12 volt battery or you use the option of driving without battery. If you want to skipp the battery but have direction indicators (flashers) on your bike, you have to in stall a electrolyt capacitor (min. 20.000mF/16V) for smoothing the pulsing voltage. Sure, you will still have to replace all lightbulbs to 12 volt ones. The horn may stay at 6 volts. It might be that your local road traffic regulations demand the existence of a parking light facility (and hence a battery). |
|
|
|
|
|
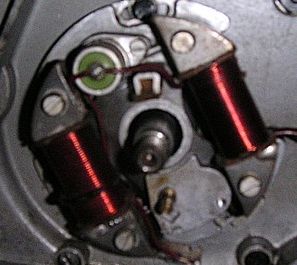
Take the old magneto and the ignition coil off. Remove the woodruff key from the crank. You will not need it any more. Please do not forget to do so, otherwise you will have trouble later on in the assembly. (Remark: This woodruff key does not actually hold your rotor on the shaft, this is done by the taper. It simply guides to the correct setting which will now be otherwise achieved.) |
|
 |
|
|
|
|
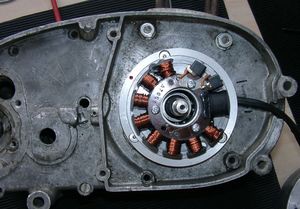 |
Place the new stator unit onto the engine and fasten it there with the 3
screws provided. You will notice in the 10 o'clock direction a small red marking on the stator base (a little obscured by the coils (here in the picture an older version looking a little different). This is an ignition marking. As it will be obscured by the flywheel, you have to transpose it to the engine with a marker pen. |
|
|
|
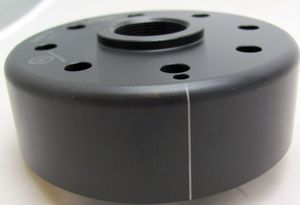 |
Have a look at the new rotor. You will find on its circumference a small pressed in line. That is an ignition marking as well. It is durable, but not well visible, so better highlighten it with some marker pen. |
|
|
|
|
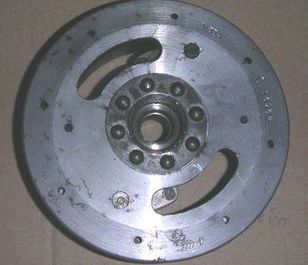
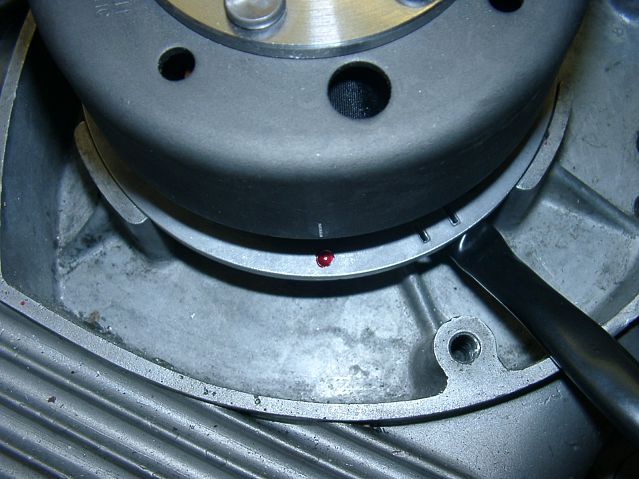
Take the spark plug out and bring the piston into top dead center position (TDC),
that is the highest point the piston can reach.
As this is difficult to do with the kick lever, place the new rotor
onto the crankshaft (do not screw it down) and use it as a
handle to turn the crank.
Once TDC has been found, carefully disengage the rotor again without moving the crank shaft's position from TDC. Than place it back in such a way, that the marking on the rotor aligns with the marking on the ground plate, as shown here. |
|
|
|
|
Fasten the rotor carefully with the stock nut. Make sure
not to modify the crank shaft position during the operation, otherwise you
have to redo the whole procedure.
Put the spark plug back. |
|
|
|
|
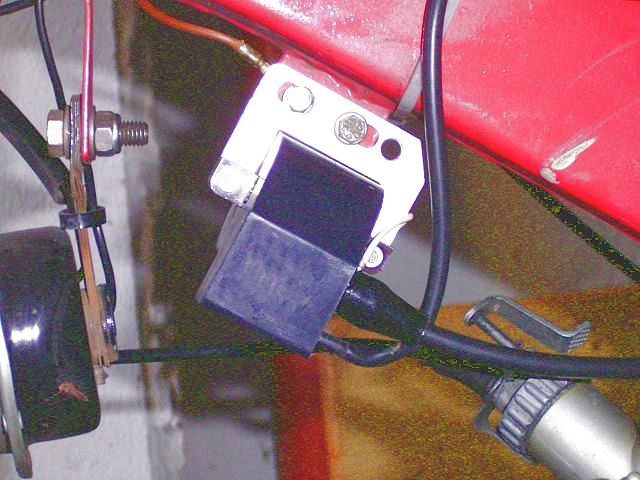 |
Fasten the new ignition coil at the frame (say same place, as the original). Leave one
screw loose, you have to connect a ground cable here.
(Photo shows different motorcycle!) |
|
|
|
| Fasten the advance unit at an convenient place, maybe under the seat or at the rear mud guard. During the installation take a look at the little blue switch block at the upper narrow side. Here are 4 little switches (presetted by us), for choosing different advance curves. | |
 |
With all switches set to "OFF" the engine reach full advance of 38° at 3.000rpm, as it should be. |
|
|
|


